If you want to keep your hamster entertained, a hamster playground is the way to go. One of these playgrounds can help your hamster explore and work their brain. You can find many of these playgrounds for sale commercially. However, you can also make your own! There are many DIY options for you to make instead.
These plans use a range of different materials, like cardboard and wood. Of course, you can adjust the plan slightly to make it work better for you and your hamster specifically. That is the best part about DIY hamster playground plans!
The 3 DIY Hamster Playground Ideas You Can Build Today
1. Cardboard Hamster Playground- instructables
Image Credit: instructables
Materials:
Cardboard, hot glue, twine
Tools:
Box cutter, scissors
Difficulty Level:
Easy
This playground is pretty straightforward. However, you can adjust it as needed. The cardboard you use needs to be very sturdy. Otherwise, it will fall under your hamster’s weight.
The plan lays out three levels for you to build. The first level is a hiding hole made from a folded piece of cardboard. The second level is a flat piece of cardboard glued on top of the hiding hole. The third level is a large piece of cardboard connected to the second level by a bridge. The bridge is made from three pieces of cardboard glued together.
As you can see, most of the steps simply involve gluing different pieces of cardboard together. This plan is also exceedingly cheap, as you’re only using cardboard.
2. Customizable Hamster Playground- petsrpriority
Image Credit: petsrpriority
Materials:
Varies
Tools:
Varies
Difficulty Level:
Hard
This plan is much more about designing your own playground than following a specific plan. Therefore, it works best for those with more experience, as you will need to work without a step-by-step plan. This guide does outline how to do some of the building, such as finding the best base for the playground. However, there are very few pictures or step-by-step plans.
Still, if you have some experience, you can easily turn this into a full-fledged plan. It’s worth a read if only to get a few ideas. It discusses what materials you need and the steps involved in building it. This playground has a few different levels, but, again, it depends on how you build it. And don’t forget to add some hamster toys to make it more exciting.
3. Paper Mache Playground- youtube
Materials:
Baking flour, water, salt, newspaper, printer paper, cardboard boxes, tubes
Tools:
None
Difficulty Level:
Moderate
This is an interesting way to build a DIY hamster playground. Simply put, you’ll use the cardboard boxes to build the base of the playground, and the tubes to connect all of the different areas. Then, you’ll paper mache all of the different layers together to make one big paper mache playground. It’s pretty straightforward, but it is time-consuming.
Luckily, the video is pretty easy to follow, even if you’ve never done this kind of craft before. It explains how to make the paper mache and put it together so that it stays together. It’s a pretty straightforward plan, especially if you want something just a little bit different.
Conclusion
Hopefully, one of these plans helped you figure out which playground works well for your hamster. You can use one of the plans exactly how they are described, or you can combine them into your own creation. We highly recommend adapting the plans for your hamster, especially since there are so many different kinds of hamsters.
You’ll want to make your playground larger if you have a Syrian hamster, for instance, or smaller if you have a dwarf hamster. Many of these plans don’t take different-sized hamsters into account, so you should do that while building it. Luckily, none of these plans require serious technical knowledge. Therefore, they should all be pretty easy to do.
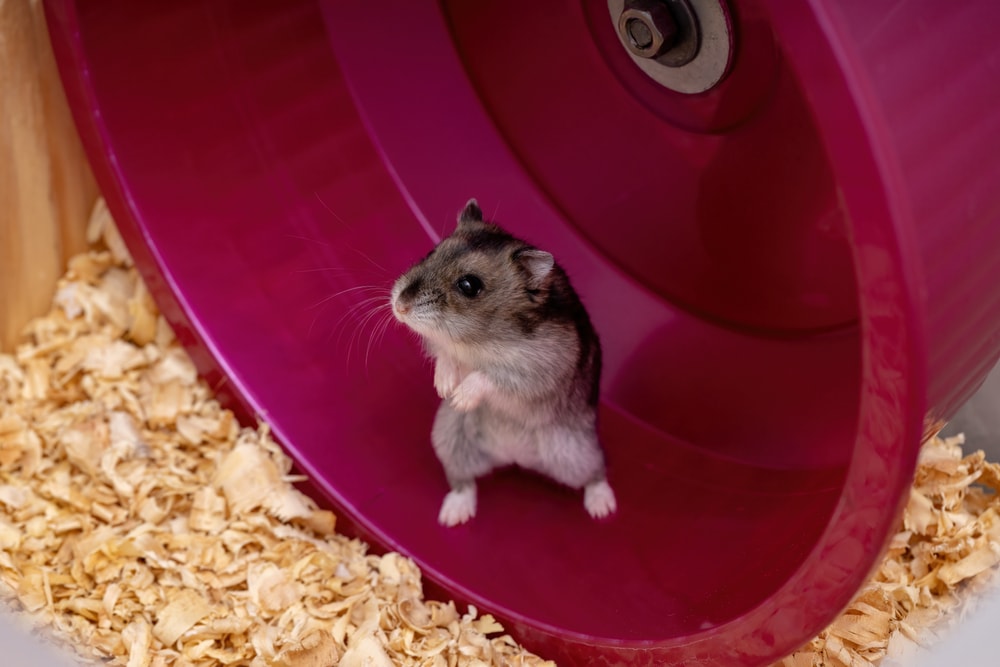
Featured Image Credit: Vinicius R. Souza, Shutterstock