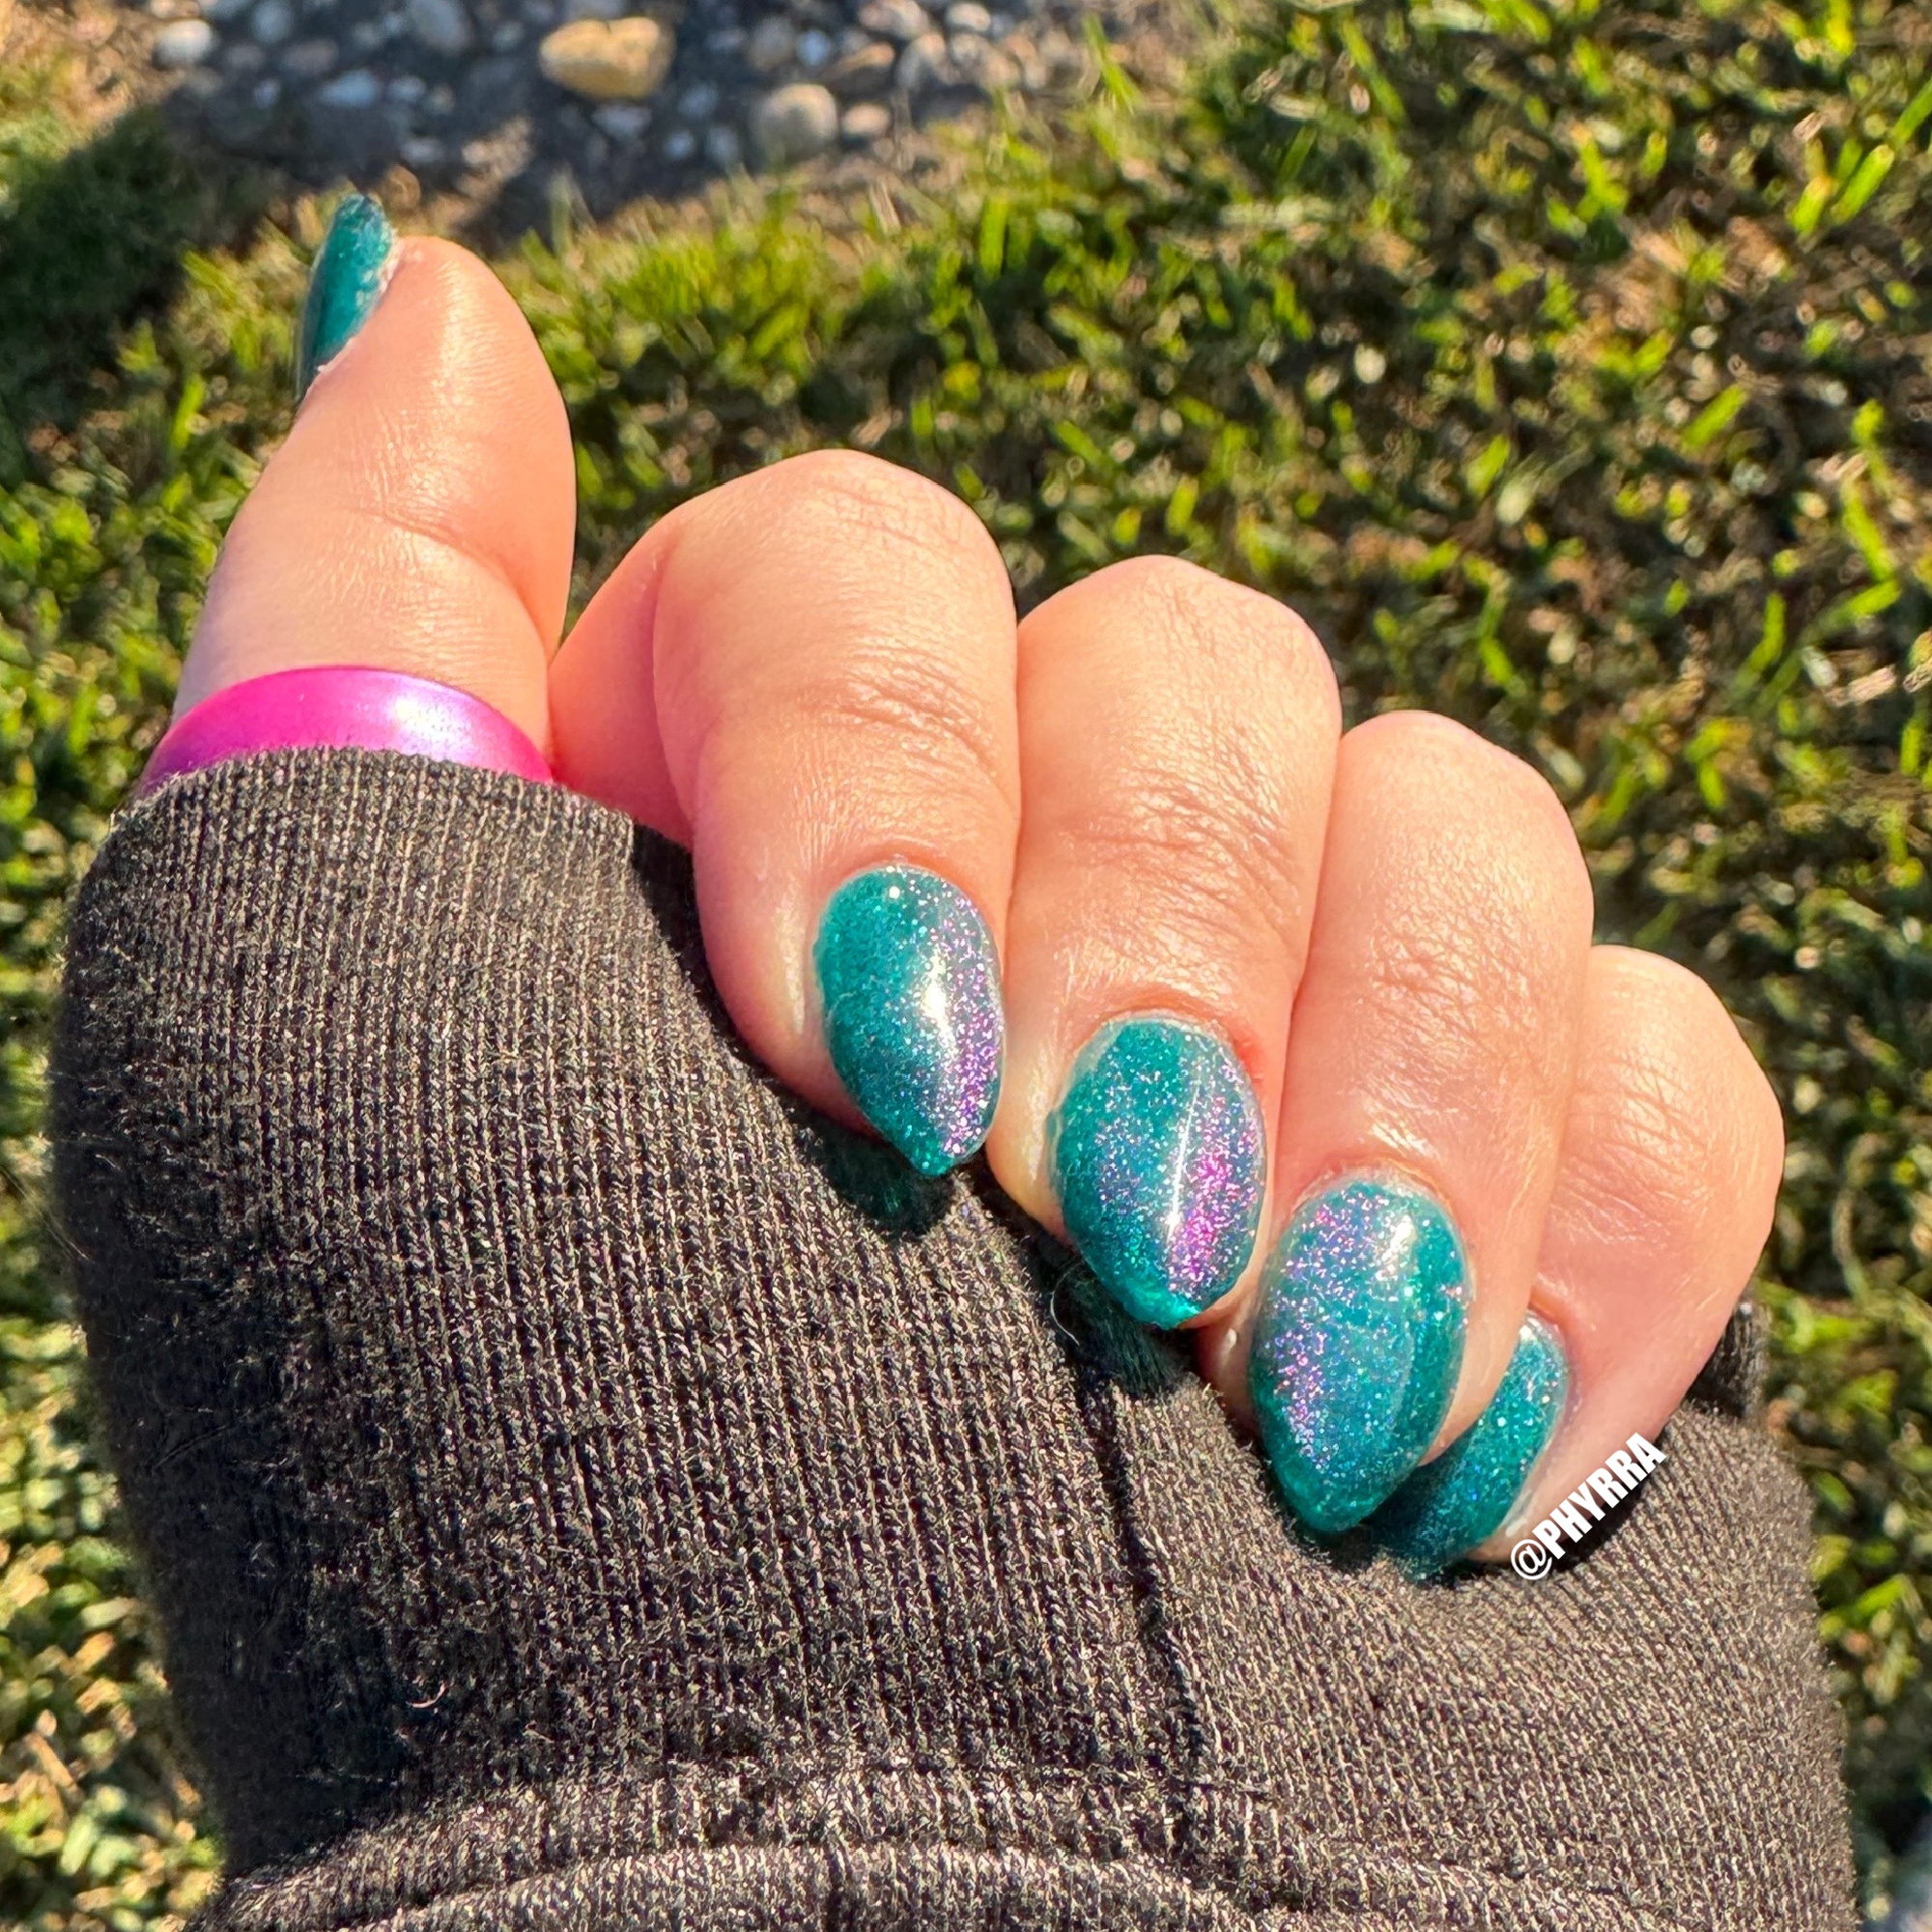
Hello, beautiful creatures! Today I’m sharing how to do velvet nails with you. I have been obsessed with the look of velvet nails for quite a while now. However, I’ve struggled with being able to create beautiful designs with magnetic polish. I finally found a way that works for me so I want to share it with you!
Everything purchased by me. Some links are affiliate links, which means I make a small percentage from what you purchase through them and it helps support my site without costing you anything extra. Thank you for using them!
Need help on how to prep your nails for a manicure or apply full coverage tips? Follow my guide!
What I Used in the Video Tutorial
Magnetic Polish Recommendations from Brands I Love and Shop
Luxie Poseidon magnetic gel polish. I’m obsessed with that purple shift too!
Luxie Nail (I own Poseidon & Hephaestus)(gel polish)
Mooncat Polish (I own Cheshire Cat and Millennia and love them)(regular polish)
KBShimmer )(regular polish)
ILNP )(regular polish)
iGel Beauty (gel polish)
Madam Glam (gel polish)
I included 3 regular polish brands and 3 gel polish brands I love that create beautiful magnetic polish.
How to Do Velvet Nails with Gel Polish
Gel polish is the easiest to work with for nail art designs, especially magnetic. I personally have struggled with creating designs I loved until I found the velvet manicure style and my U magnet. So grateful to the nail polish lovers on Reddit Laqueristas who recommended this magnet. Thank you so much!
Prep your nails for a manicure and apply your full coverage tips if you wear them.
Paint 1 to 2 coats of your base color and cure. I cure each coat for 30 seconds in my LED lamp.
Paint 1 layer of magnetic gel polish and place finger inside the U magnet. Hold inside the magnet for 30 to 60 seconds.
Immediately cure for 30 seconds to lock in the design.
Repeat a second time with the magentic gel polish.
Seal the design in with a top coat immediately and cure.
Troubleshooting Tips
Below are the top three troubleshooting tips I have for you. If you have trouble with not getting the results you like with magnets, you need the U magnet. Trouble with your design blurring? If it blurs, you need to set the design faster, so use a quick dry top coat. If you’re struggling to see the results with the magnetic polish on its own or with a shimmer, try using a solid cream base shade instead of a shimmer or glitter shade.
U Magnet
Get a U magnet, seriously. I’ve got magnets from Mooncat, KBShimmer, Polish Pickup, iGel and probably others. None of those magnets have allowed me to create a design that I love like the velvet nails.
Quick Dry Top Coat
Use a quick dry top coat if you’re using regular polish. I’ve seen many complaints about Seche Vite NOT being a good choice for magnetic as it will blur a bit. Mooncat Speed Demon Top Coat is excellent in my experience. There’s also Out the Door Quick Dry Top Coat.
With regular polish, I often find that the magnetic design blurs and disperses.
Solid Base Shade
I often use whatever shimmery colors I have, but using a solid base such as black or any solid hue you like will help intensify the design. Shimmery colors like I used sometimes make the design less clear.
Velvet Nails Video Tutorial
Please check out the how to do velvet nails video tutorial on my Instagram. There’s also a video of the nail polish in direct morning sunlight and indoors in indirect sunlight.
My Winter Holiday Velvet Nails
To create my winter holiday velvet nails I used two coats of Madam Glam It’s Not X-Mas Yet, followed by two coats of Luxie Nail Poseidon held within the U magnet, and sealed in with Daily Charme Diamond Shine Top Coat.
I love wearing jewel tones and they work well with my skin tone. Emerald green nails are my favorite for winter nails, especially when they’ve got some purple in the mix.
Have you tried velvet nails? What are your favorite nail colors and designs for winter?
More to See


